
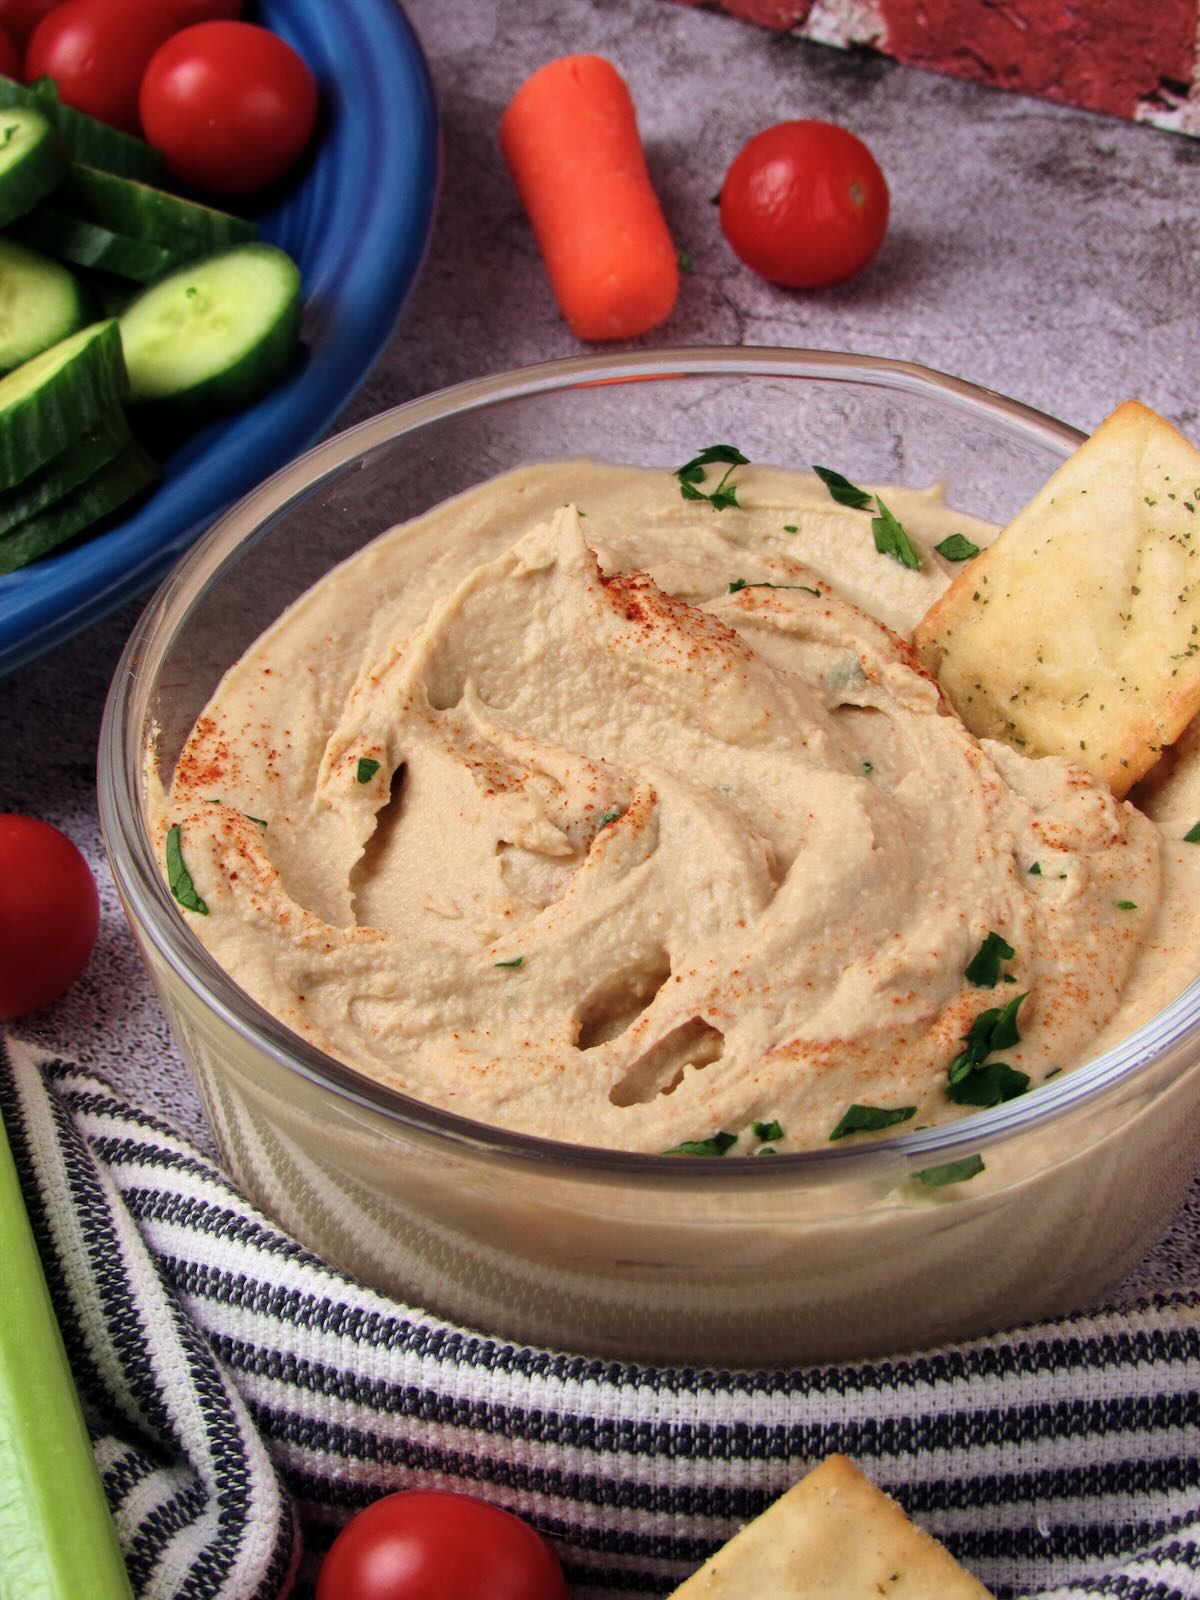
This easy Homemade Garlic Hummus recipe is creamy, silky smooth, and packed with garlicky flavor. Made with aquafaba for an ultra smooth texture, this oil-free hummus is the perfect plant based staple. Enjoy it as a dip, spread it on pita, or add a dollop to salads and bowls for a simple burst of flavor!
If you’ve downloaded my free ebook, you might recognize this recipe! It’s very similar to the hummus you'll find there, with just a few small tweaks. This is a staple I make all the time, and I wanted to give it a permanent home here on the blog.
Table of Contents
Why You'll Love This Recipe
- Nutritious vegan snack: Made primarily from garbanzo beans and tahini, this garlic hummus is packed with plant based protein and fiber!
- Quick & easy: this homemade hummus is ready to go in just 10 minutes!
- Perfect for meal prep and on-the-go: Make a batch over the weekend and store in the fridge! On week days you can spoon some into a to-go container, keep it in the fridge at work, and enjoy with your lunch or snack.
- Versatile: Enjoy as a dip, spread on sandwiches and wraps, or dollop over salads and bowls.
Key Ingredients
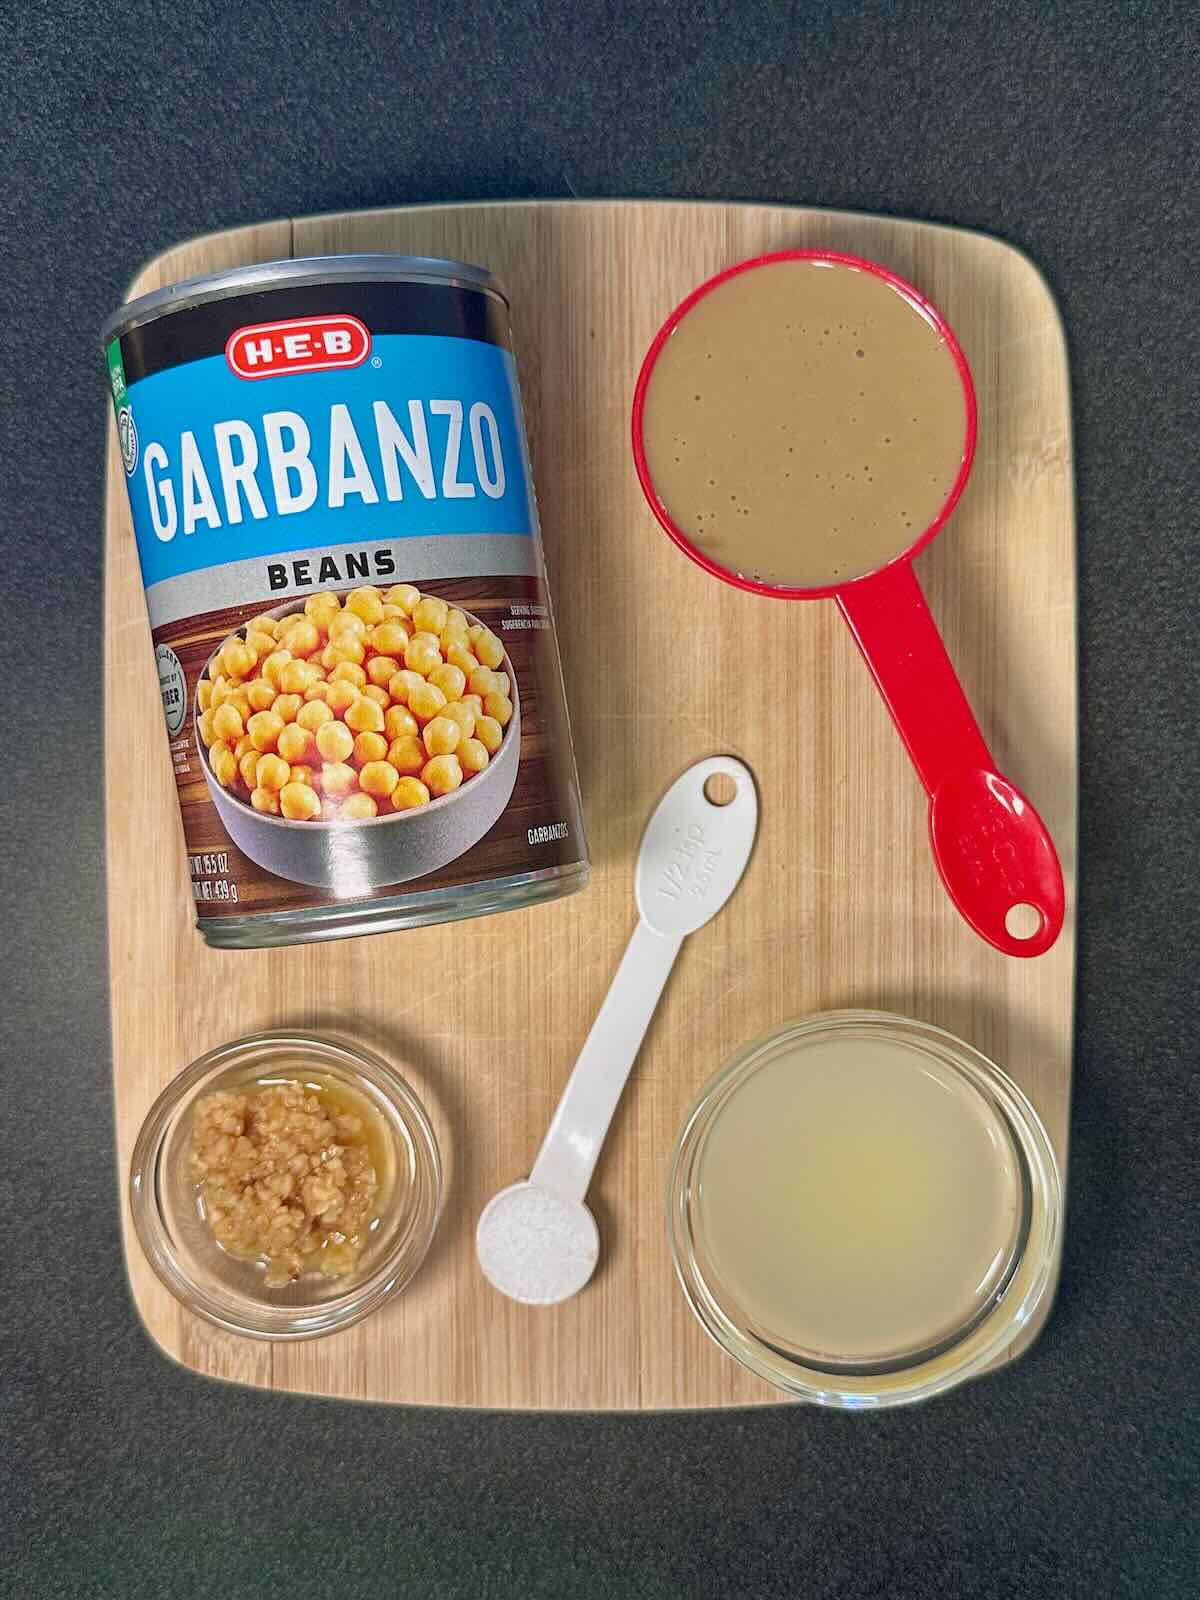
- Canned chickpeas: The base of this hummus, packed with plant based protein and fiber to keep you full and satisfied.
- Aquafaba: To achieve a creamy consistency and help create that smooth texture without any oil.
- Tahini: Adds a rich, nutty flavor for that classic hummus vibe.
- Garlic: Gives the perfect garlicky kick that ties all the flavors together.
- Lemon juice: Bright and tangy, it balances the richness of the chickpeas and tahini.
How to Make Homemade Garlic Hummus

Add all ingredients to a high powered blender.

Blend until smooth, add more aquafaba as needed to achieve a creamy texture, and serve as desired!
Recipe Tips
- Start out with 3 tablespoon aquafaba and add more gradually as needed. This thins it out a bit and also helps to achieve that creamy consistency.
- Blend for at least 1-2 minutes for a super smooth hummus!

Serving Suggestions
- Serve as a dip with pita, crackers, or fresh veggies! Also perfect to add to charcuterie boards.
- Spread on sandwiches or wraps for a hearty meal. Try it in a pita wrap with falafel & tabbouleh!
- Use this homemade vegan hummus to make this delicious Lemon Hummus Pasta.
- Dollop on top of salads, roasted veggies, or Buddha bowls for a savory flavor boost.
Substitutions & Variations
- This recipe is easily adjustable! Taste after blending and add more salt, lemon, or garlic to suit your preference.
- For an even creamier texture, peel the chickpeas before blending. This takes some extra time but does make a difference! Totally optional, as the hummus is still silky smooth without it!
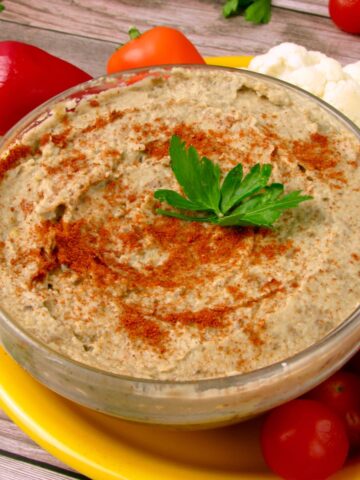
- Sprinkle on some smoked paprika or fresh herbs before serving for a small flavor twist.
- If you prefer a red pepper flavor, check out my Roasted Red Pepper Hummus recipe!

Frequently Asked Questions
Not completely, traditional hummus is made with olive oil, while this version is oil-free. However, it still provides that classic hummus flavor! We use aquafaba to keep it creamy and smooth, so you still get all the flavor you love.
You can, though for this recipe I recommend sticking to dried herbs and spices (such as paprika) as I haven't tested much else at this time. If you'd prefer a completely different flavor profile, you might like my Roasted Red Pepper Hummus!
Yes! This recipe is made with minimally processed and whole food ingredients, making it WFPB and vegan.
Other Mediterranean-Inspired Recipes You'll Love


📖 Recipe

Homemade Garlic Hummus (Oil-Free)
Ingredients
- 1 can chickpeas - drained but not rinsed, save the aquafaba!
- 3-5 tablespoon aquafaba - (the liquid in the can of chickpeas)
- ⅓ cup tahini
- 3 tablespoon lemon juice
- 2 cloves garlic - minced
- ¼ teaspoon salt
Instructions
- Add all ingredients to a high powered blender and blend until smooth and creamy! Start with 3 tablespoon aquafaba and add another tablespoon or 2 as needed to achieve a creamy texture. Taste test and add another ¼ teaspoon salt if desired.
- Serve however you wish! Delicious as a dip with pita chips, crackers, or veggies, spread on sandwiches, or dolloped onto salads and Buddha bowls.
Nutrition
*Nutrition facts are an estimate and are calculated for one serving.
Happy cooking! If you made this recipe don’t forget to tag me (@joyfulbalanceofficial) on facebook or instagram so I can cheer you on for your recipe-making ways.
Stay joyfully balanced!

Comments
No Comments